After adding an image to your project, you can easily adjust its shape and form. Follow the steps below to learn how you can apply a mask to your images, as well as crop them.
Applying a mask to an image
The mask option allows you to place an icon over the image and mask everything around its edges. Use a circle, an arrow, a heart, or any other icon you can look up in the search bar.
- To add an image, select Add graphics in the left-side toolbar. Then pick an image from the stock library or upload your own. Make sure the file does not exceed 10MB.
- Select the image on the canvas, then click Mask in the right-side settings panel.
- Use the search bar to find a shape for your mask.
- Position the shape on your image and resize it by dragging its corners in or out.
- When you're ready, tap Enter or click outside of the image.
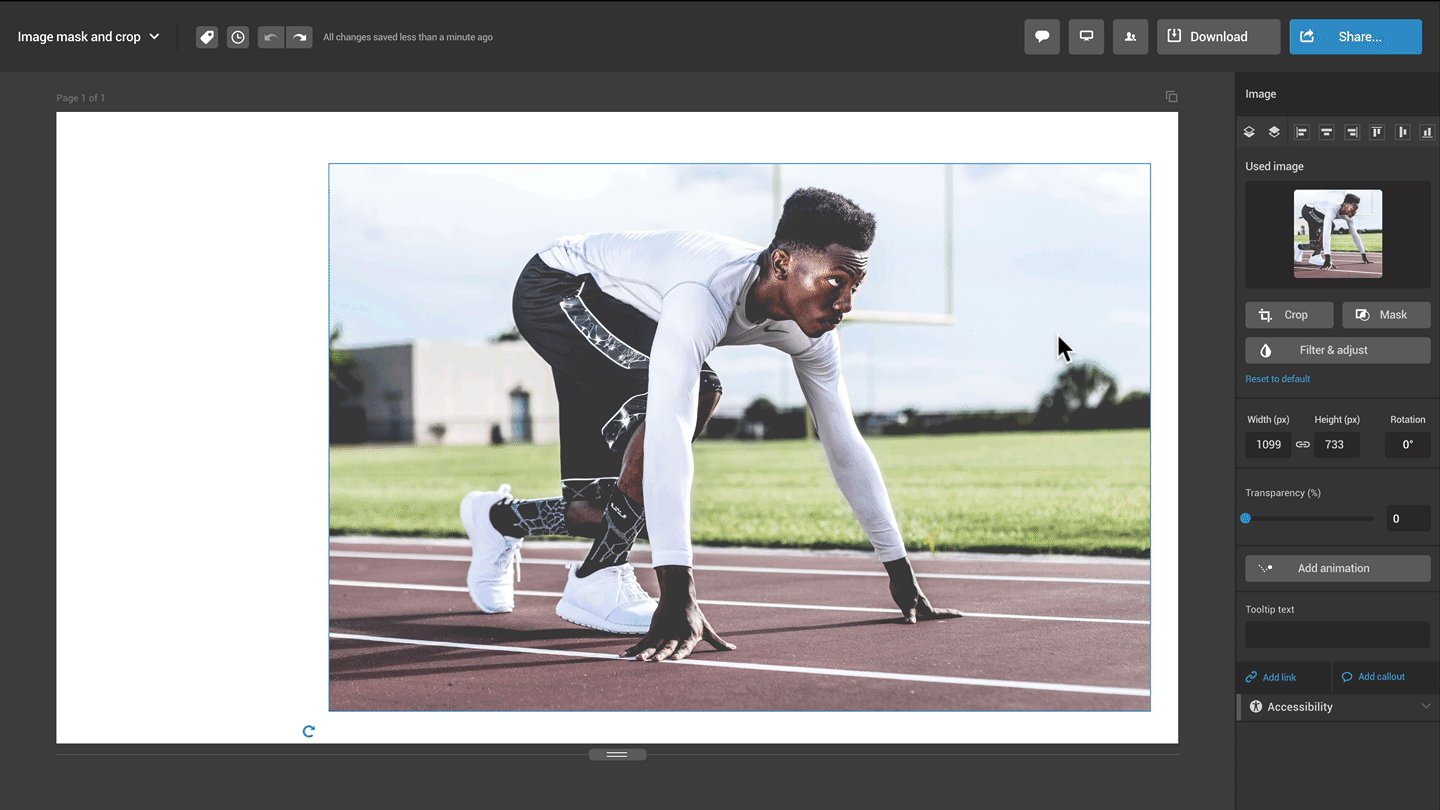
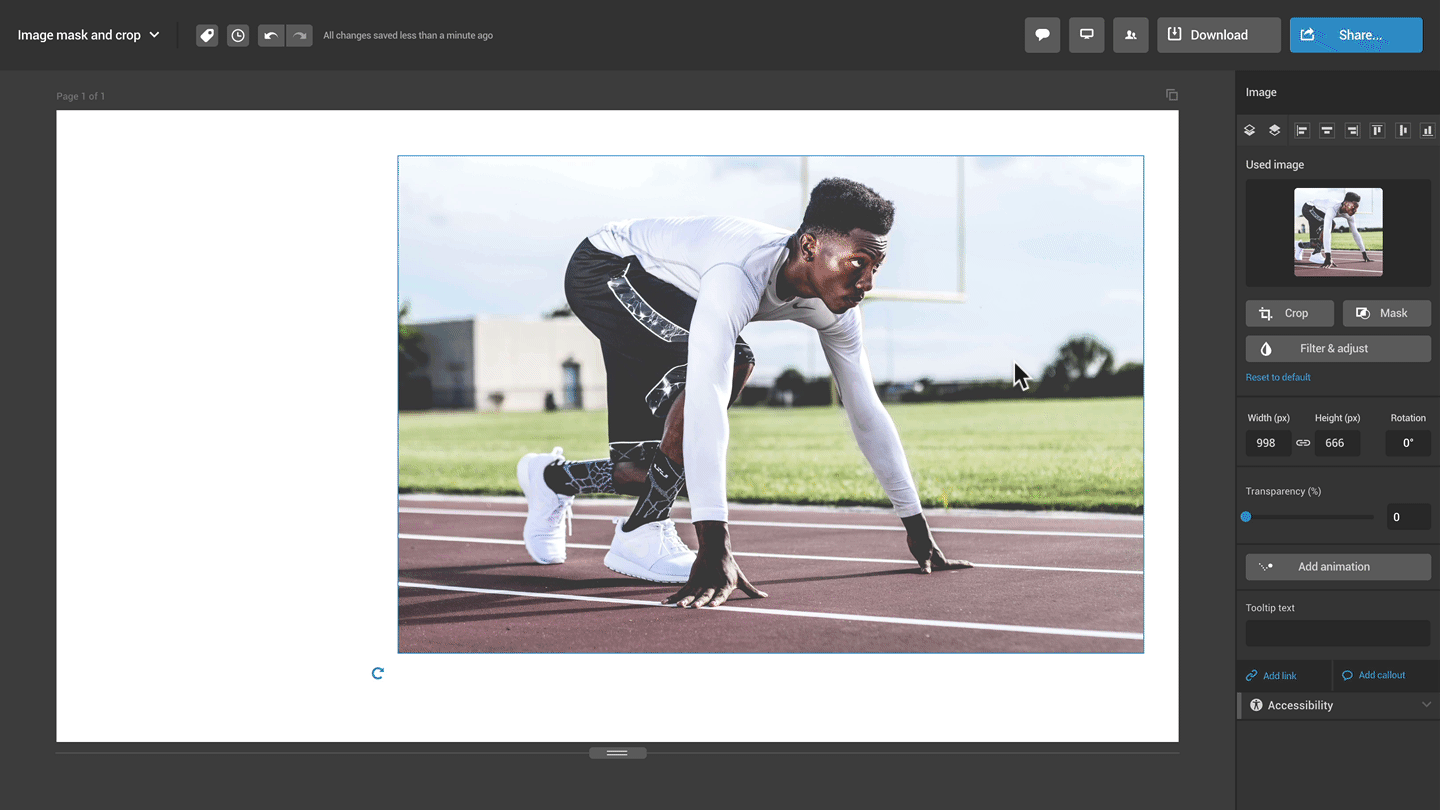
Cropping an image
- To add an image, select Add graphics in the left-side toolbar. Then pick an image from the stock library or upload your own. Make sure the file does not exceed 10MB.
- Select the image on the canvas, then click Crop in the right-side settings panel.
- Reposition the pink trim marks to select the area you wish to crop.
- Once you're done, tap Enter or click outside of the image.
Pro Tip: You can use the undo option to revert to a previous version of your project.